Getting heated bathroom floor wiring right is the single most important step in any radiant floor project. You can lay the mat perfectly, embed the cable flawlessly, and choose the most elegant tile — but if the electrical side is done incorrectly, the system either won’t work or will become a safety hazard. This guide covers everything from circuit requirements to thermostat hookup, so you know exactly what to expect before the first wire is pulled.
How the Electrical System Works
An electric radiant floor system is relatively simple in principle. A continuous resistance heating cable — either embedded in a mat or laid loose on the subfloor — converts electricity into heat. That cable connects to a thermostat on the wall, which in turn connects to your home’s electrical panel via a dedicated circuit breaker.
The thermostat acts as the brain of the system. It reads the floor temperature through a small sensor probe buried in the floor, then switches power to the cable on and off to maintain your target temperature. A second set of wires — the sensor wires — run alongside the power wires from the floor up to the thermostat box. These low-voltage sensor wires carry no heating current; they only relay temperature data.
120V vs 240V: Choosing the Right Voltage
The most fundamental wiring decision for heated bathroom floor wiring is voltage. Most small to mid-size bathroom systems run on 120V, while larger installations benefit from 240V.
| Feature | 120V System | 240V System |
|---|---|---|
| Best for | Bathrooms under 150 sq ft | Larger bathrooms or whole-room heating |
| Wire gauge (typical) | 12 AWG or 14 AWG | 12 AWG |
| Breaker size | 15–20 amp | 20–30 amp |
| Amperage draw | Higher for the same wattage | Lower for the same wattage |
| Installation cost | Lower | Slightly higher |
| Efficiency | Equal to 240V | Equal to 120V |
The key practical difference is amperage. When you double the voltage, you halve the current needed to produce the same heat output. Lower amperage means a smaller wire can be used safely, which can simplify the rough-in work. For a standard 50–80 sq ft bathroom, a 120V circuit on a 20-amp breaker is more than sufficient. If you are heating a larger master bath or plan to run the floor as primary heat rather than supplemental comfort, a 240V dedicated circuit is the smarter choice.
Dedicated Circuit Requirement
A dedicated circuit — one that serves only the radiant floor system — is strongly recommended and in many jurisdictions required by the National Electrical Code (NEC). Sharing a circuit with bathroom lighting, exhaust fans, or outlets introduces the risk of nuisance tripping and, more importantly, the risk of overloading a circuit that was sized for lighter loads.
Run a new cable from the panel to a junction box or thermostat box in the bathroom wall. The wire gauge must match the breaker amperage: 12 AWG for a 20-amp circuit, 10 AWG for a 30-amp circuit. Always verify local code requirements, as some jurisdictions have additional specifications on conduit type and installation method.
GFCI Protection: Non-Negotiable in a Bathroom
Because bathrooms are wet environments, every heated bathroom floor wiring installation must be GFCI-protected. There are two ways to achieve this: a GFCI circuit breaker at the panel, or a thermostat with built-in GFCI protection. Most modern programmable thermostats include an integrated GFCI, which makes a separate GFCI breaker redundant but not harmful. Check your thermostat’s documentation — if it states GFCI-compliant, a standard breaker is acceptable. If the thermostat has no GFCI, install a GFCI breaker at the panel.
The Wiring Sequence Step by Step
Understanding the sequence prevents costly mistakes during installation.
Plan and test first
Before any wire goes into the wall, check the ohm resistance of the heating cable using a multimeter. The reading should fall within the range printed on the manufacturer’s label. Any significant deviation suggests damage during shipping or handling. Record this baseline reading — you will need it to compare against post-installation tests.
Run the circuit to the thermostat box
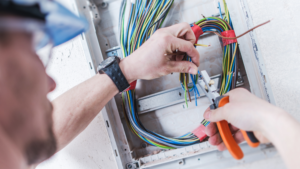
Install a double-gang electrical box in the wall at a convenient location, typically near the light switch. Use ½-inch conduit from the box down through the bottom wall plate and into the subfloor area. Two separate conduit runs are required in most installations: one for the power lead wires and one for the temperature sensor probe. This separation prevents the sensor from picking up electromagnetic interference from the heating cables, which would cause inaccurate temperature readings.
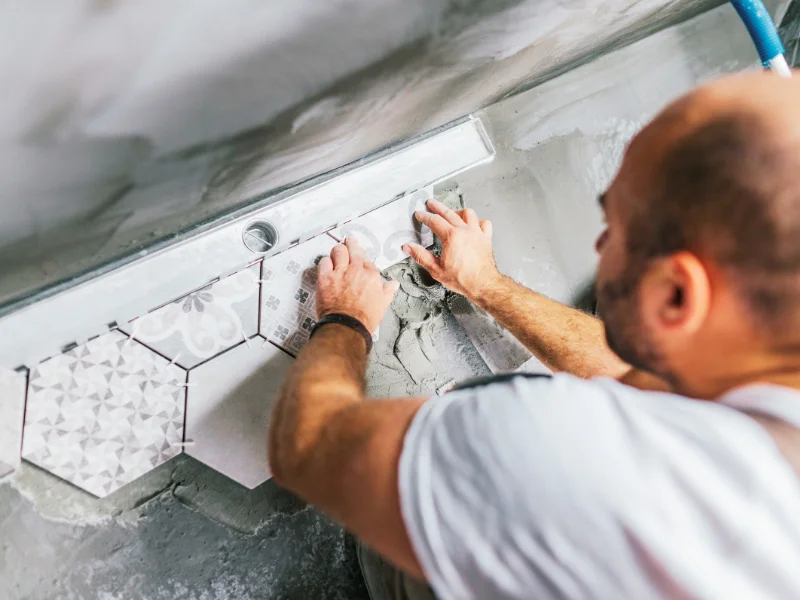
Lay the heating mat or cable
This is the flooring contractor’s domain, but the electrician needs to coordinate closely. Keep the power lead — the thicker, unheated portion of the cable — in the conduit trench leading to the wall. Never embed the power lead in the thinset or concrete; only the heating cable itself should be covered. Fish the power leads and sensor wires up through their respective conduits to the thermostat box.
Test again before covering
Once the mat is positioned and before tile or self-leveling compound is poured, test the ohm resistance a second time. This is a critical step. Any damage caused by foot traffic or tools will be caught now rather than after the floor is fully tiled.
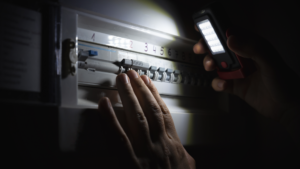
Connect at the thermostat
The line-voltage power wires from the panel connect to the line terminals of the thermostat. The two heating cable power leads connect to the load terminals. The sensor wires connect to the designated sensor terminals — these have no polarity, so either wire can go to either terminal. Mount the thermostat, restore power, and test the system before setting tile.
Common Wiring Mistakes to Avoid
Crossing or kinking the sensor conduit over the power conduit introduces interference. Embedding the power lead under tile traps excess heat and can damage the insulation over time. Skipping the pre-pour resistance test is the single most expensive mistake a homeowner can make, because a damaged cable discovered after tiling requires tearing up the entire floor. Finally, running heated bathroom floor wiring off a shared circuit with a hair dryer outlet is a common shortcut that causes frequent tripping under load.
When to Call a Licensed Electrician
DIY installation of the mat and cable is widely accepted and manageable for most homeowners. The electrical rough-in — running the new circuit from the panel, sizing the breaker correctly, and making the final connections at the thermostat — should be handled by a licensed electrician in most jurisdictions. Even where homeowner permits are available, having an electrician perform the final hookup ensures the system passes inspection and protects your home insurance coverage.
FAQ
1. Does heated bathroom floor wiring require a dedicated circuit?
Yes. A dedicated circuit is required by the NEC and recommended by all major manufacturers to prevent overloading and nuisance tripping.
2. What wire gauge is needed for a radiant floor heating system?
A 20-amp, 120V circuit uses 12 AWG wire. A 240V system at 20–30 amps typically uses 12 AWG to 10 AWG, depending on load.
3. Does a heated bathroom floor need GFCI protection?
Yes, always. Use either a GFCI circuit breaker at the panel or a thermostat with built-in GFCI — both satisfy code requirements for wet locations.
4. Can I wire a heated bathroom floor myself?
You can install the mat and cable yourself, but most local codes require a licensed electrician to connect the circuit at the breaker panel and make the final thermostat wiring.
5. How do I know if my heating cable was damaged during installation?
Test the ohm resistance with a multimeter before and after laying the mat. If the resistance reading changes significantly or falls outside the manufacturer’s printed range, the cable has likely been damaged and should not be covered.