Modern lighting design has evolved far beyond the simple ceiling fixture, and homeowners are increasingly turning to versatile solutions that combine form and function. Track lighting installation has become one of the most popular choices for those seeking to enhance their spaces with customizable, contemporary illumination.
Whether you’re looking to highlight artwork, brighten a workspace, or add ambient glow to your living areas, understanding the process can help you achieve professional results.
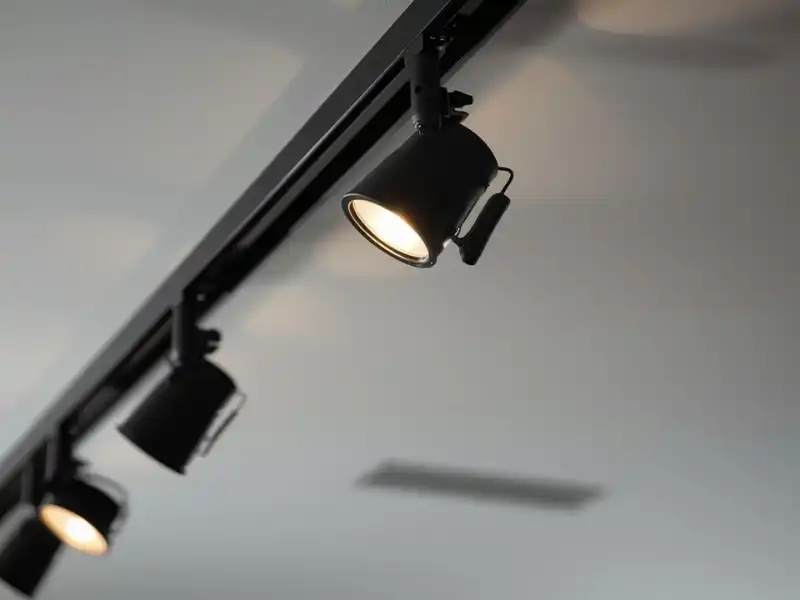
What is Track Lighting and Why It’s Popular
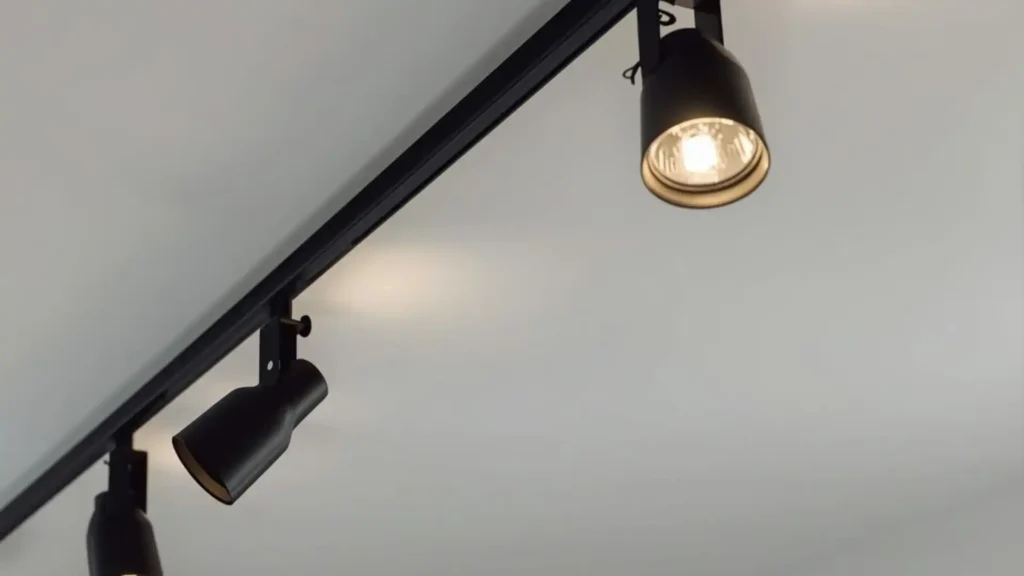
Track lighting consists of multiple light fixtures attached to a continuous track that mounts to your ceiling or wall. This system allows you to position individual lights exactly where you need them and adjust their direction to suit your changing needs.
The popularity of track lighting stems from its incredible versatility. You can illuminate specific areas, create dramatic accents, or provide general lighting, all from a single installation.
Benefits of Track Lighting Installation
Flexibility: Unlike fixed ceiling lights, track lighting lets you reposition and redirect light fixtures along the track without any rewiring. This adaptability makes it perfect for evolving spaces and changing design preferences.
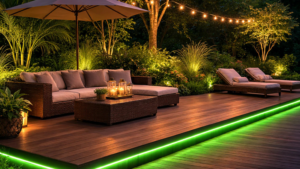
Modern Aesthetic: Track lighting systems deliver a sleek, contemporary look that complements everything from industrial lofts to minimalist modern homes. The clean lines and purposeful design add visual interest to any ceiling.
Customization: With countless fixture styles, finishes, and bulb options available, you can create a lighting design that’s uniquely yours. Mix and match heads to achieve the perfect combination of task, accent, and ambient lighting.
Before You Start: Planning Your Track Light Installation
Proper planning is essential for a successful installation. Taking time to assess your needs upfront will save you frustration and ensure optimal results.
Assessing Your Lighting Needs
Consider how you’ll use each space. Task lighting works well over kitchen counters or reading nooks, accent lighting highlights architectural features or artwork, and ambient lighting provides overall illumination. Most rooms benefit from a layered approach combining all three types.
Measuring Your Space and Determining Track Length
Measure the area you want to illuminate and sketch a rough layout. Track comes in standard lengths (typically 4 or 8 feet), and you can connect multiple sections for longer runs. Remember that proper spacing prevents dark spots while avoiding an overcrowded appearance.
Choosing Between H-Track, J-Track, and L-Track Systems
These letter designations refer to the cross-sectional shape of the track:
- H-track (or two-circuit track): Allows two independent circuits on one track
- J-track (or single-circuit track): The most common residential option
- L-track: Another single-circuit design, incompatible with J-track fixtures
Always verify compatibility before purchasing fixtures and track components.
Understanding Line-Voltage vs. Low-Voltage Systems
Line-voltage systems (120V) connect directly to your home’s electrical system and accommodate standard bulbs. Low-voltage systems (typically 12V) require a transformer but offer greater energy efficiency and often provide superior light quality for accent applications.
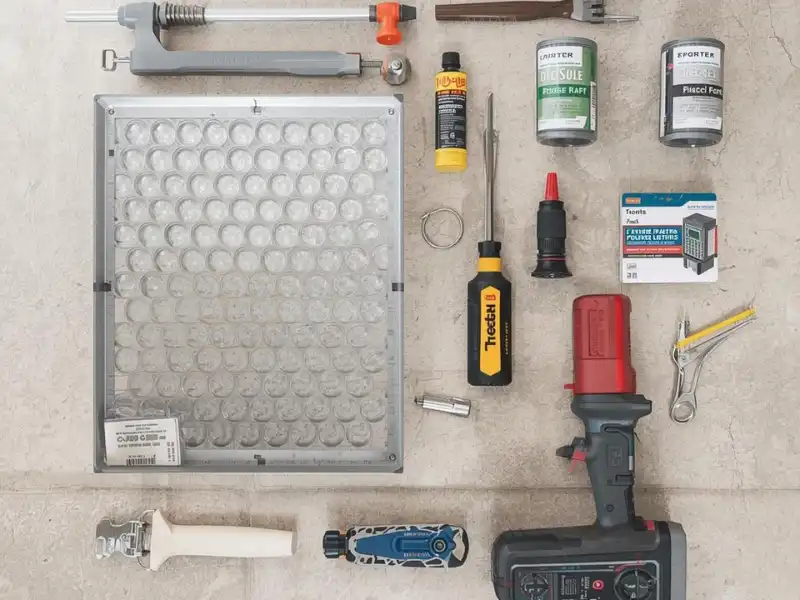
Tools and Materials Needed for Track Lighting Installation
Having everything ready before you begin makes the installation process smoother and safer.
Complete Checklist of Tools
Screwdriver (both Phillips and flathead)
Drill with bits appropriate for your ceiling type
Wire strippers
Voltage tester
Pencil for marking
Ladder or step stool
Wire nuts
Electrical tape
Stud finder (for drywall ceilings)
Required Materials and Components
Track lighting kit (track, mounting hardware, and connectors)
Light fixtures (heads)
Bulbs compatible with your fixtures
Wire nuts (if not included)
Toggle bolts or ceiling anchors (if not mounting to joists)
Additional track sections (if needed)
Connectors for corners or junctions
Safety Precautions for Track Lighting Setup
Electrical work carries inherent risks. Following proper safety protocols protects you and your home.
Turning Off the Power at the Circuit Breaker
Never work on electrical fixtures with the power on. Locate the correct breaker and switch it off. Tape a note over the breaker box warning others not to restore power while you’re working.
Using a Voltage Tester
Even after shutting off the breaker, always test wires with a voltage tester before touching them. This simple step can prevent serious injury.
When to Call a Professional Electrician
If you’re uncomfortable working with electricity, lack experience with home wiring, need to install new circuits, or encounter unexpected wiring configurations, hiring a licensed electrician is the wisest choice. Some situations exceed DIY capabilities, and professional installation ensures safety and compliance with local codes.
Track lighting setup: Step-by-Step Instructions
With your planning complete and materials gathered, you’re ready to begin the actual Track lighting setup process.
Removing the Existing Fixture
After confirming the power is off, remove your old light fixture. Disconnect the wires and remove the mounting hardware. You’ll typically find a junction box in the ceiling that you’ll use to connect your track lighting.
Installing the Mounting Plate
The track system includes a mounting plate that attaches to your junction box. Align it properly and secure it with the provided screws. This plate serves as the foundation for your entire installation.
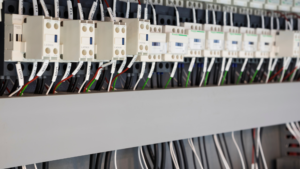
Connecting the Wiring
Match wire colors carefully: black (hot) to black, white (neutral) to white, and green or bare copper (ground) to the ground wire. Twist matching wires together clockwise, secure them with wire nuts, and wrap the connection with electrical tape for extra safety.
Mounting the Track to the Ceiling
Align the track with your mounting plate and snap or screw it into place according to the manufacturer’s instructions. For tracks longer than 4 feet, install additional support brackets every 4-6 feet to prevent sagging.
Installing Connectors for L-Shapes or T-Shapes
If your design includes corners or junctions, install the appropriate connectors between track sections. Ensure all electrical contacts align properly for continuous power throughout the system.
Attaching Track Heads and Bulbs
Slide your light fixtures onto the track, twist to lock them in place, and install bulbs. Position each head to direct light where you need it most.
Testing Your Installation
Restore power at the breaker and test your switch. Each fixture should illuminate properly. If any lights don’t work, turn off the power and check all connections.
Common Track Light Fitting Mistakes to Avoid
Learning from others’ errors saves time and frustration.
Installing Supports Too Far Apart
Tracks need support every 4-6 feet maximum. Exceeding this distance causes sagging and potential electrical connection problems.
Using Incompatible Track Types
Mixing J-track fixtures with L-track systems (or vice versa) won’t work. Stick with components from the same system family.
Poor Contact Alignment
When connecting track sections, ensure all electrical contacts meet cleanly. Misalignment prevents power from flowing through the entire system.
Overloading Circuits
Calculate your total wattage before installation. Exceeding your circuit’s capacity creates fire hazards and trips breakers repeatedly.
Troubleshooting Your Track Lighting Installation
Even careful installations sometimes encounter issues.
Lights Not Turning On
Check your breaker first, then verify all wire connections at the junction box. Ensure fixtures are properly seated and twisted into the locked position on the track.
Flickering Lights
Loose connections or poor contact between the fixture and the track typically cause flickering. Remove and reinstall affected fixtures, ensuring they lock securely.
Dimmer Compatibility Issues
Not all track lighting works with standard dimmers. LED fixtures especially require compatible dimmer switches. Check manufacturer specifications and upgrade your dimmer if necessary.
Track Lighting Installation Cost Breakdown
Understanding costs helps you budget appropriately for your project.
DIY vs. Professional Installation Costs
Doing it yourself costs only materials, typically $100-$400 for a complete system, depending on quality and number of fixtures. Professional Track light installation adds $150-$500 in labor, depending on complexity and your location.
Material Costs
- Basic track kits: $50-$150
- Mid-range systems: $150-$300
- Premium designer tracks: $300-$800+
- Individual fixtures: $15-$100+ each
- Bulbs: $5-$30 per bulb (LEDs cost more initially but last longer)
Final Thoughts
Remember that while DIY installation is certainly achievable for those comfortable with basic electrical work, there’s no shame in calling a professional for complex situations or when safety concerns arise. The goal is beautiful, functional lighting that you can enjoy for years to come, whether you install it yourself or choose to work with an expert.
If you’d like professional guidance or hands-on help, contact us to discuss your lighting needs and get expert support for a safe, reliable installation.
FAQs
1. What is Track light installation?
Track lighting installation involves mounting a powered track to the ceiling and attaching adjustable light heads for flexible, targeted lighting.
2. Is track lighting installation safe for DIY?
Yes, if you understand basic wiring and safety rules. For complex wiring or unfamiliar setups, hiring a professional is recommended.
3. How far apart should track lighting supports be?
Supports should be installed every 4–6 feet to prevent sagging and ensure long-term stability.
4. Are all track lighting systems compatible?
No. H-track, J-track, and L-track systems are not interchangeable and must match the correct track heads.
5. How much does track lighting installation cost?
DIY costs are lower, while professional installation adds labor fees but ensures code compliance and safety.