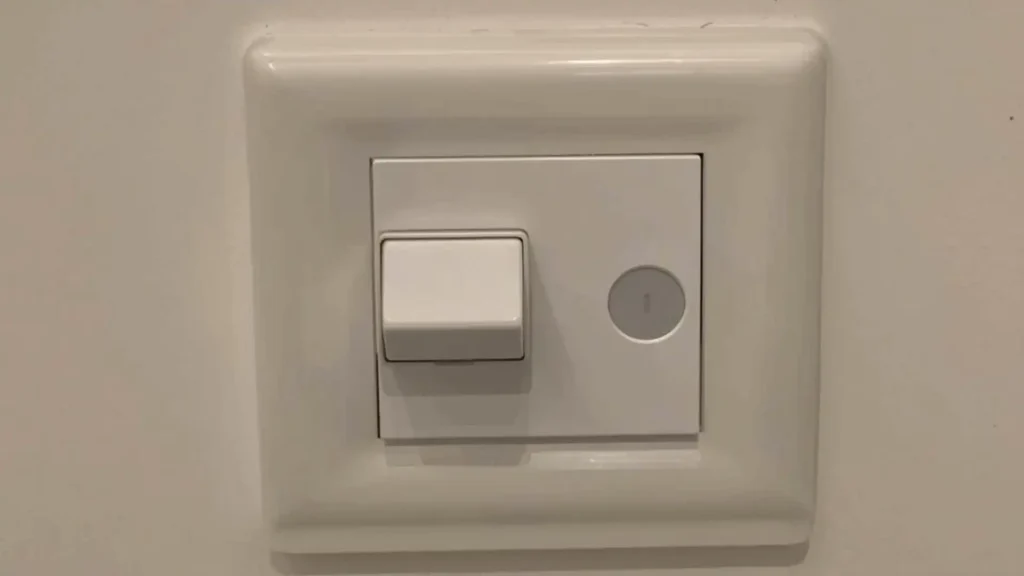
If you’re looking for a simple yet impactful way to enhance the lighting in your home, Dimmer switch installation is the perfect solution. Whether you want to adjust the mood in your living room, save on energy costs, or prolong the life of your light bulbs, installing a dimmer switch can make a significant difference. In this guide, we will walk you through everything you need to know about dimmer switch installation.
Installing a dimmer switch can offer a variety of benefits, including energy savings and greater control over your home’s lighting ambiance. With just a small investment in this simple upgrade, you can create the perfect atmosphere for any room, whether it’s a cozy movie night or a bright, energized morning. In this blog, we’ll take you through the steps of dimmer switch installation and share tips to make the process smooth and safe.
Before You Begin: What You Need to Know
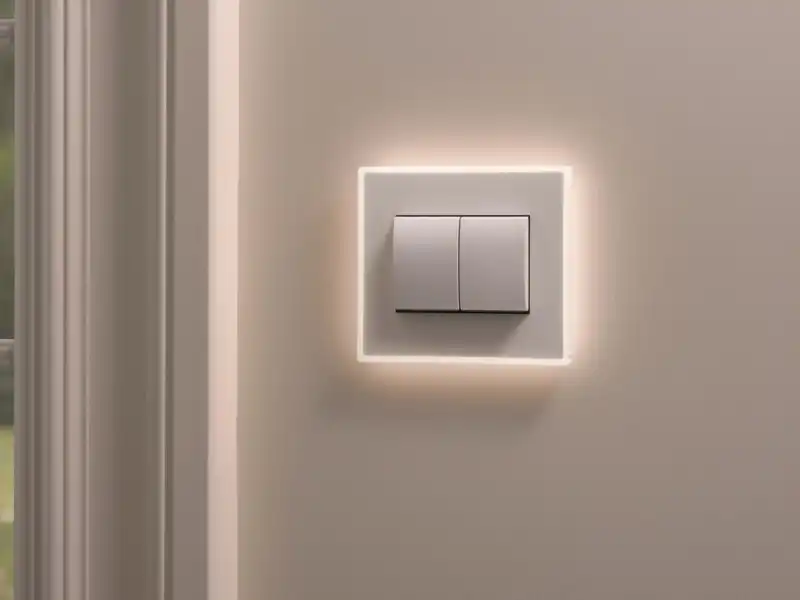
Before jumping into the installation process, it’s important to understand the different types of dimmer switches available. Choosing the right option for your home will help ensure smooth functionality and an optimal lighting experience without unnecessary issues.
Types of Dimmer Switches:
There are several types of dimmer switches designed for different setups and needs. A single-pole dimmer switch is the most common option and is used to control one light from a single location. A 3-way dimmer switch is ideal for larger rooms or hallways, allowing the same light to be controlled from two different locations. Some dimmers are designed specifically for LED bulbs, while others work best with traditional incandescent lighting. Smart dimmer switches offer advanced features, as they can integrate with home automation systems and be controlled through a smartphone app or voice assistant.
Compatibility with Light Bulbs:
Choosing a dimmer switch that matches your existing light bulbs is essential for proper performance. Not all dimmers are compatible with every bulb type, and using the wrong combination can cause flickering or inconsistent lighting. For example, LED bulbs require dimmer switches designed specifically for energy-efficient lighting to ensure smooth dimming and reliable operation.
Required Tools and Materials:
Before starting the installation, gather all the necessary tools and materials to avoid interruptions. You will need a screwdriver, a voltage tester, a wire stripper, a new dimmer switch, electrical tape, and wire nuts to complete the job safely and efficiently.
Preparing for Dimmer Switch Installation
Before getting started with your dimmer switch installation, safety should be your top priority. Taking a few precautionary steps beforehand will help prevent accidents and make the process smoother.
Turning off the Power at the Circuit Breaker:
This is the most important step in preventing electrical hazards. Locate your circuit breaker panel and turn off the power supply to the switch you’ll be working on to ensure no electricity is flowing to the wires.
Using a Voltage Tester:
After shutting off the power, use a voltage tester to confirm that the circuit is completely inactive. This extra check provides peace of mind and helps eliminate the risk of accidental electric shock while handling the wiring.
Safety Gear Recommendations:
Wearing appropriate safety gear can further reduce potential risks during installation. Rubber-soled shoes and rubber gloves offer added protection against electrical shock, and it’s important to work in dry conditions to maintain a safe environment throughout the process.
Dimming Switch Wiring Process
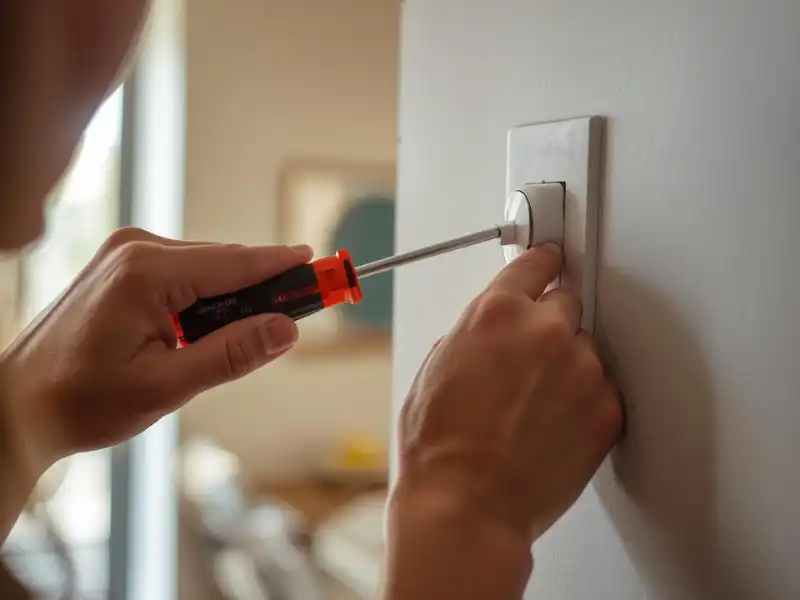
Now that you’re prepared and safe, it’s time to begin the Dimming Switch Wiring process. Follow these simple steps to complete the job like a pro.
Removing the Old Switch:
Start by using a screwdriver to remove the screws holding the old switch in place. Gently pull the switch out from the wall to expose the wiring behind it. Before disconnecting anything, take a moment to observe how the wires are connected, as this will help guide you when installing the new dimmer switch.
Identifying and Preparing Wires:
After removing the old switch, identify the wires inside the electrical box. Typically, you will see a black wire, which is the hot wire, a white neutral wire, and a green or bare ground wire. Carefully strip about half an inch of insulation from the ends of each wire to ensure they are ready to connect securely to the new dimmer switch.
Connecting the New Dimmer Switch:
Next, connect the wires to the corresponding terminals on the new dimmer switch. The black hot wire usually connects to the terminal labeled “L,” the white neutral wire goes to the “N” terminal, and the ground wire attaches to the green screw. Secure each connection with wire nuts and wrap them with electrical tape to provide extra safety and stability.
Securing the Switch and Adding the Wall Plate:
Once all the connections are made, gently fold the wires back into the electrical box, making sure they are not pinched or strained. Secure the dimmer switch to the box using screws, then attach the wall plate to give the installation a clean, finished appearance.
Testing Your Installation:
After everything is securely in place, restore power at the circuit breaker. Test the dimmer switch by adjusting the slider or knob and checking that the lights respond smoothly and dim as expected.
Troubleshooting Common Issues
Even with the best installation, issues may occasionally arise. Here are some common problems and how to troubleshoot them:
Flickering Lights:
If you notice flickering when using the dimmer switch, the issue may be caused by incompatible bulbs or a faulty dimmer. Make sure the bulbs you are using are specifically designed to work with dimmer switches, and replace any that are not compatible.
Switch Not Working:
If the dimmer switch does not work at all, carefully inspect your wiring connections. Loose or incorrectly connected wires are a common cause, so ensure everything is securely and correctly installed.
Buzzing Sounds:
A buzzing noise usually indicates an overload or incompatible bulbs connected to the dimmer switch. Try replacing the bulbs with dimmer-compatible ones or switching to a dimmer rated for the correct electrical load to resolve the issue.

Final Thought
Light Dimming Switch Setup is an easy and cost-effective way to take control of your home’s lighting. By following the steps outlined above and ensuring that you choose the right switch and bulbs, you can enjoy better ambiance and lower energy costs in no time. If you encounter any issues during installation, don’t hesitate to reach out to a licensed electrician for further assistance.
Now that you’ve installed your dimmer switch, consider replacing other switches in your home for a complete lighting upgrade. The right dimmer switch can transform any room in your house, making it more comfortable and energy-efficient. If you need help with your Light Dimming Switch Setup or any other electrical upgrades, contact us today for expert assistance and a professional touch!
Join Our Community
Join our community on Facebook, and don’t forget to subscribe to us on YouTube for new content each week.
FAQs
1. What is a dimmer switch?
A dimmer switch allows you to control the brightness of your lights, offering energy savings and ambiance control.
2. Can I install a dimmer switch myself?
Yes, if you follow safety steps and the correct installation process, dimmer switch installation is a simple DIY task for most homeowners.
3. Why is my dimmer switch causing flickering?
Flickering can happen due to incompatible bulbs or a faulty dimmer switch. Ensure the bulb and switch are compatible.
4. How do I know if a dimmer switch is compatible with my light bulbs?
Check if your bulb type (LED, incandescent) matches the dimmer switch specifications for proper functionality.
5. Are smart dimmer switches worth the investment?
Yes, smart dimmer switches offer advanced control through apps, voice assistants, and energy savings, making them a great investment for modern homes.